Copyright © 2001-2002 Christian Schenk
Permission is granted to make and distribute verbatim copies of this manual provided the copyright notice and this permission notice are preserved on all copies.
Permission is granted to copy and distribute modified versions of this manual under the conditions for verbatim copying, provided that the entire resulting derived work is distributed under the terms of a permission notice identical to this one.
Permission is granted to copy and distribute translations of this manual into another language, under the above conditions for modified versions, except that this permission notice may be stated in a translation approved by the Free Software Foundation.
Table of Contents
This document describes the MiKTeX installation procedure. The latest version of this document is available from the CTAN:
Four steps are necessary to install MiKTeX on you computer:
Check to see if the prerequisites are met.
Choose a package set.
Download MiKTeX.
Install MiKTeX.
Beginning with version 2.1, MiKTeX Setup Wizard does not install any operating system components (such as comctl32.dll). It is taken for granted, that all required system components (see below) exist, either because they are a part of the operating system, or because they were installed by an operating system update (service pack).
The following system components are required by MiKTeX:
Required Windows Components
| File Name | Required Version | Distribution Platform |
|---|---|---|
| comctl32.dll | 5.80.2614.3600 | |
| wininet.dll | 4.70.0.1300 | Internet Explorer 4.0 or better |
The setup wizard displays a message and quits, if one of the required system components is missing.
You can choose between three package sets: “Small MiKTeX”, “Large MiKTeX” and “Total MiKTeX”.
Package Sets
- “Small MiKTeX”
This is a basic MiKTeX system with TeX, pdfTeX, recommended LaTeX packages and Type1 fonts. This uses about 100 MB disk space.
- “Large MiKTeX”
This adds Omega, ConTeXt, e-TeX and more. This uses about 200 MB disk space.
- “Total MiKTeX”
This includes all available packages. This uses about 500 MB disk space.
You should choose “Small MiKTeX”, if you are downloading MiKTeX over a slow Internet connection. You can add missing packages later with the help of MiKTeX Package Manager.
You can download MiKTeX either with the help of the MiKTeX Setup Wizard (setup.exe), or manually with the help of an FTP client. This installation guide covers the wizard method, because it is the recommended method for most users. See the MiKTeX FAQ, for a detailed description of the FTP method.
The latest version of the wizard can be downloaded from the SourceForge.net download server.
Start the wizard (setup.exe).
You will presented with the welcome page:
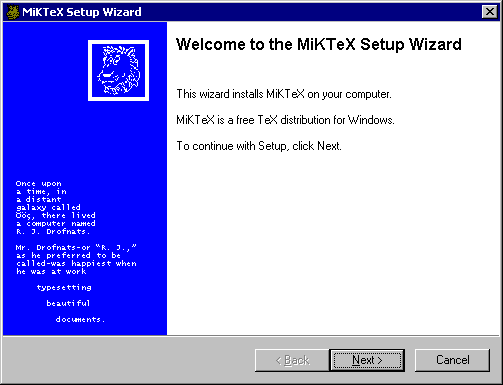
Click Next> to advance to the next page.
Choose “Download only” as the primary setup task:
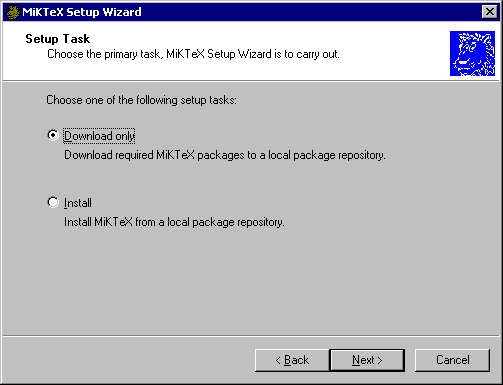
Click Next> to go to the next page.
Choose the package set you wish to download:
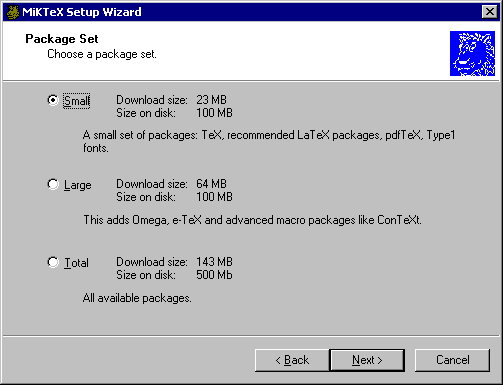
Click Next> to go to the next page.
Choose the remote package repository:
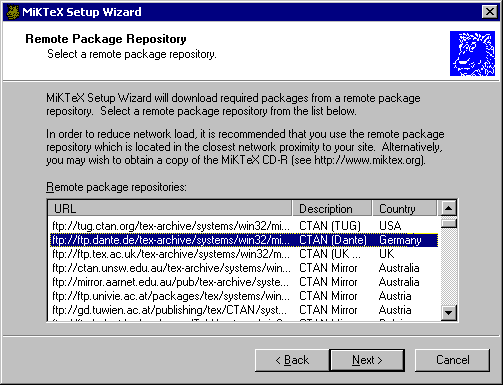
Click Next> to go to the next page.
Specify the location of the local package repository:
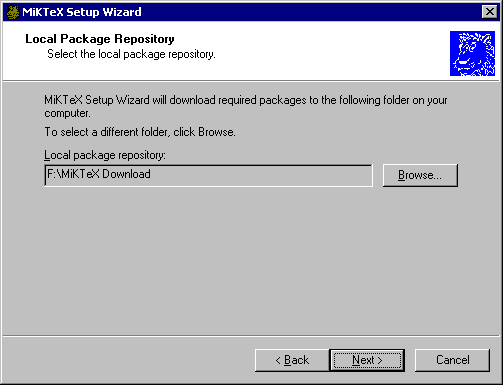
Click Next> to go to the next page.
You now have the chance to review your download settings:
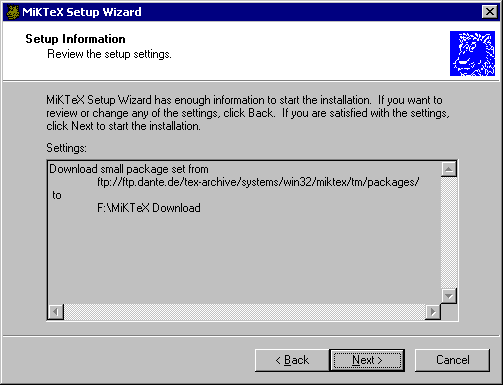
Click Next>, to start the download.
The download starts:

Click Next>, when the download is complete.
You now see the last wizard page:
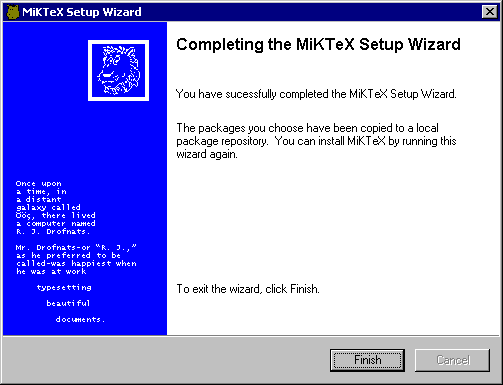
Click Finish, to close the wizard.
You install MiKTeX with the help of MiKTeX Setup Wizard:
Make sure that no MiKTeX application is running.
Start the wizard (setup.exe).
You will presented with the welcome page:
Click Next> to go to the next page.
Choose “Install” as the primary setup task:

Click Next> to go to the next page.
Choose the package set you wish to install:
Click Next> to go to the next page.
The packages will be installed from a local package repository, i.e. a folder on your computer:
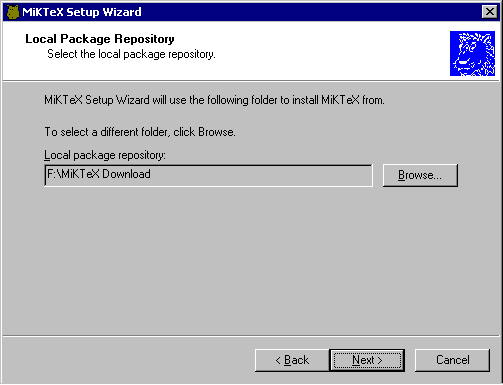
Click Next> to go to the next page.
You have the option to share your MiKTeX installation with other users:
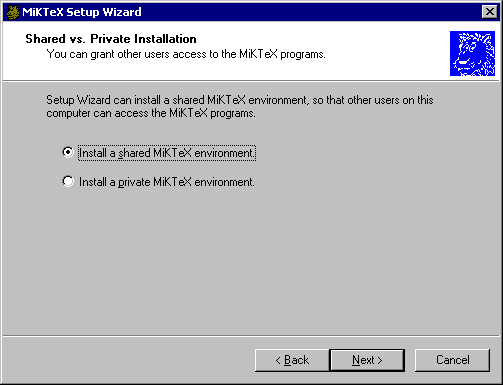
Click Next> to go to the next page.
Accept the suggested installation path or enter your own choice:
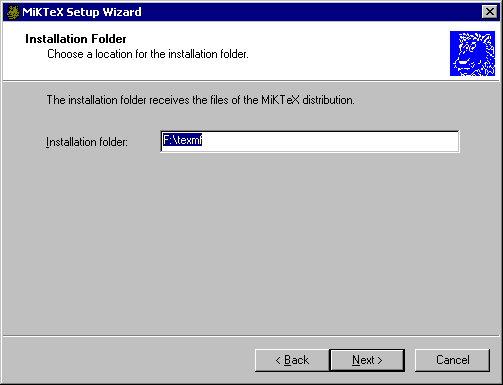
Click Next> to go to the next page.
Accept the suggested path to the local TEXMF folder or enter your own choice:
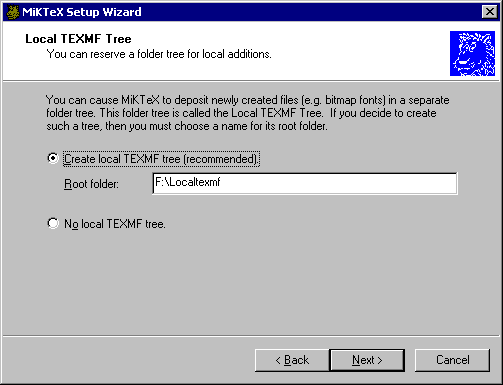
You can check “No local TEXMF tree”, if you don't want to use a local TEXMF tree. This is not recommended.
Click Next> to go to the next page.
You can choose, whether additional TEXMF folders should be incorporated:
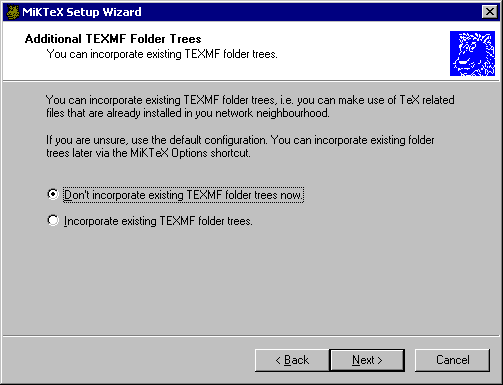
You can safely defer this decision, because you can subsequently add additional TEXMF folders with the help of MiKTeX Options.
Click Next> to go to the next page.
You now have a chance to review the setup settings:
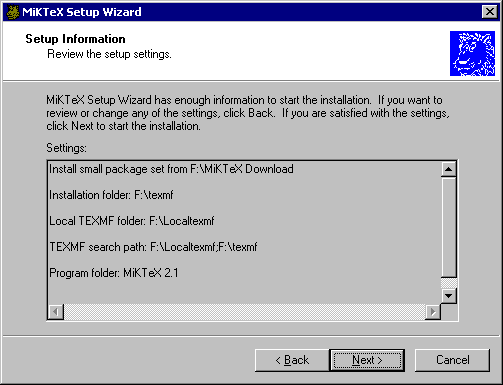
Click Next> to go to the next page.
The installation starts:
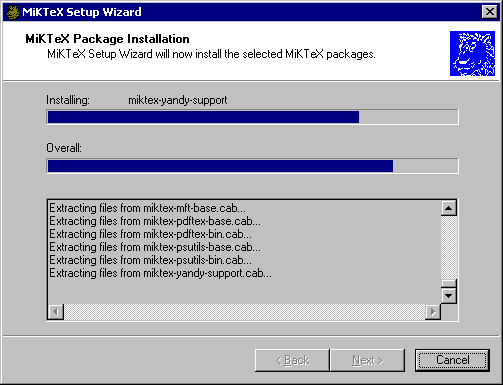
Click Next>, when the installation is complete.
You now see the last wizard page:
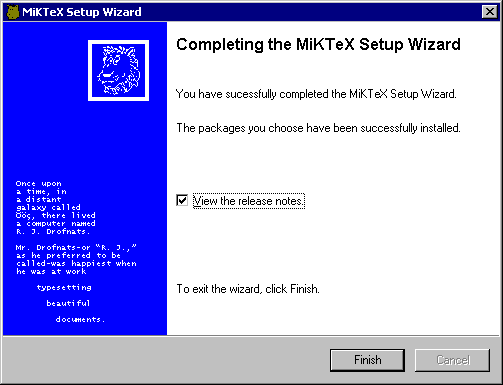
Click Finish, to close the wizard.
As of version 2.2, the MiKTeX Setup Wizard logs all actions into the DebugView window. You need to download and install DebugView, if you intend to troubleshoot wizard related problems.
To download DebugView, visit the DebugView page at http://www.sysinternals.com/ntw2k/freeware/debugview.shtml and follow the download/installation instructions.
To create a trace, start DebugView prior to the MiKTeX Setup Wizard.
In addition, the wizard reports some actions into a log file. The name of the log file is: setup-YYYY-MM-DD-HH-MM.log (YYYY-MM-DD-HH-MM stands for the install time). The log file is contained in the folder C:\texmf\miktex\config\.